After starting a new station of type "WMR100" the screen type for a Oregon Scientific WMR100 screen will appear.
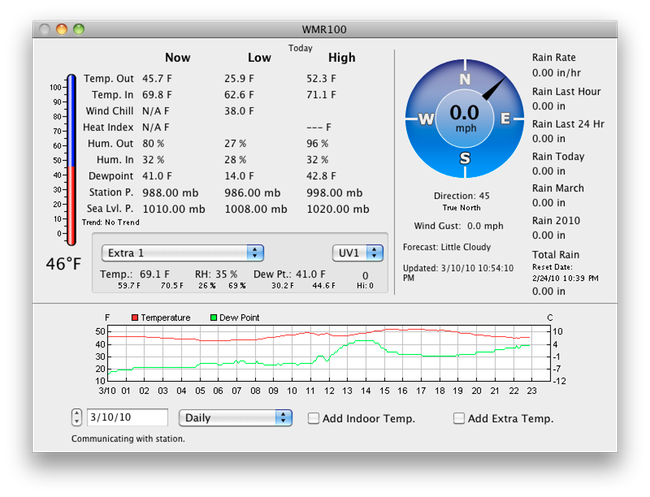
Since the WMR100 is a USB station, WeatherTracker should find it automatically and start downloading data immediately. If the display shows an error message then consult the support forums for troubleshooting help.
The WMR100 settings are divided into sections...
1) Station Setup
2) Weather Data
3) Weather Database
4) Weather Underground
5) CWOP
6) Custom Upload
Section 1 - Station Setup

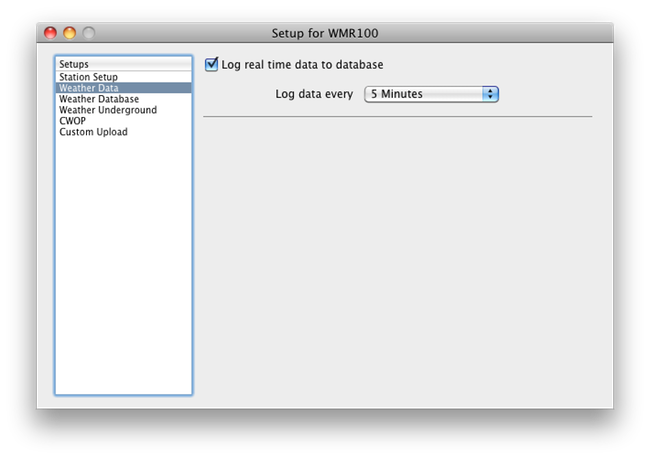
Section 2 - Weather Data
Section 3 - Weather Database
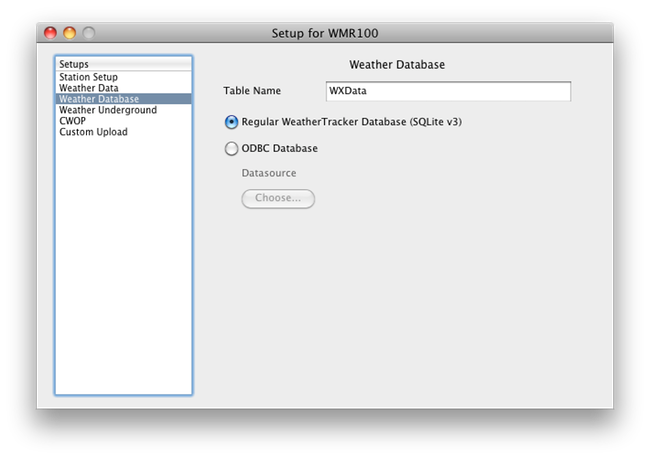
Regular WeatherTracker Database (SQLite v3): This is the default. The database will be stored in the folder reserved for application data as a SQLite version 3 database. This application data location varies depending on operating system, Windows or Macintosh. You can easily find the location of the database by choosing "Open Support Folder" from the "Help" menu. A window open to the support folder will open.
ODBC Database: If you want to write the data to your own database that supports and ODBC connection choose this option. The "Choose..." button will allow you to choose an ODBC datasource that you have previously defined using the proper utility for your operating system. Mac users should look into ODBC Administrators Tool. Windows users can use the default ODBC Administration tools installed with windows.
Section 4 - Weather Underground
All stations use the same setup for Weather Underground. This page explains the settings.
Section 5 - CWOP
All stations use the same setup for CWOP. This page explains the settings.
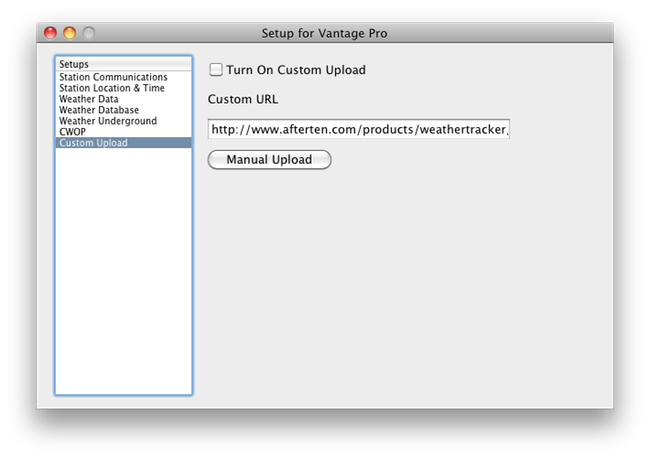
Section 6 - Custom Upload